Developing Xcode Extensions. Tips and tricks
The article is now available on my blog:
https://www.artemnovichkov.com/blog/developing-xcode-extensions-tips-and-tricks

You all see these beautiful code screenshots on Twitter. I often use Carbon for my tweets, but Raycast team released ray.so that looks prettier and has options for customization via query parameters. I decided to write an Xcode Source Extension for it. Here is my journey, enjoy the reading!
The app is first
Extensions can be installed only within main apps, and it's a good chance to use SwiftUI for macOS development. My app contains options for sharing: colors, background, dark mode, and paddings. Finally, the app looks like this:
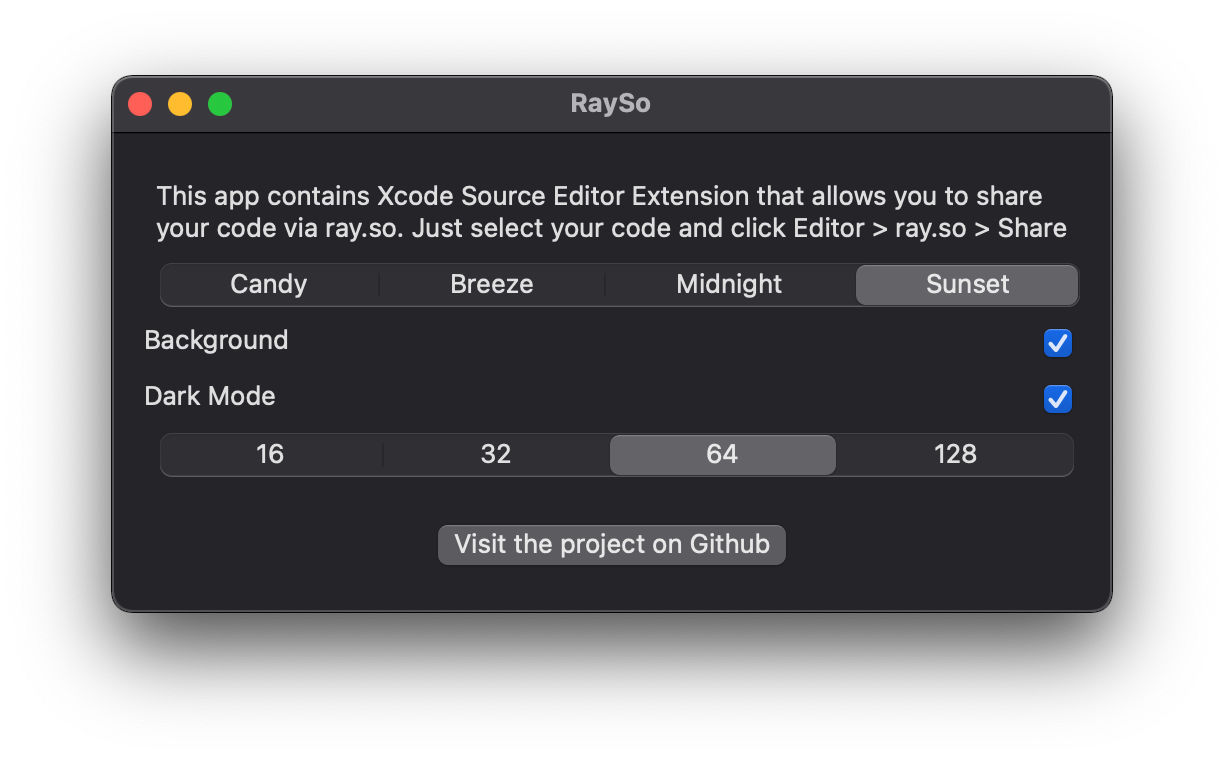
All selected options are saved to UserDefaults and shared to the extension via app groups. The app is based on SwiftUI App template, and it is very limited for configuration. For instance, it is very hard to disable the fullscreen toolbar button.
Since macOS 11.0 SDK you can use defaultAppStorage(_:) for scenes and views in your apps. All nested @AppStorage property wrappers will use it by default. In theory. But it doesn't work for me, so I set all stores explicitly:
private static let defaults = UserDefaults(suiteName: Constants.suiteName)!

@AppStorage(Constants.darkModeKey, store: Self.defaults)
var darkMode: Bool = true
And there is no way to check which store is used in @AppStorage. If you know how to fix it, ping me on Twitter.
Continue with extension
It was my first Xcode Source Extension, so I dived into documentation and open source extensions. Personally, I think it's hard to develop and debug. By the way, here is my final code for getting a selected code:
private func selectedCode(from buffer: XCSourceTextBuffer) -> String {
var text = ""
var spacesCount = 0
for case let range as XCSourceTextRange in buffer.selections {
    for lineNumber in range.start.line...range.end.line {
        if lineNumber >= buffer.lines.count {
            continue
        }
        guard let line = buffer.lines[lineNumber] as? String else {
            continue
        }
        if spacesCount == 0 {
            let currentSpacesCount = line.prefix(while: { $0 == " " }).count
            if currentSpacesCount > 0 {
                spacesCount = currentSpacesCount
            }
        }
        let substring = line.dropFirst(spacesCount)
        text.append(String(substring))
    }
    return text.trimmingCharacters(in: .whitespacesAndNewlines)
}
Except extension-specific logic like spacing and trimming, you should work withXCSourceTextBuffer,XCSourceTextRange,XCSourceTextPosition etc.
When you run your extension, Xcode launches a special instance of Xcode. Sometimes extensions just not show up in Editor menu. Folks on StackOverflow, Apple Forums and Github issues advise to sign extensions with a real certificate, rename Xcode and of course clean/relaunch your projects. Erica Sadun wrote a good article about debugging.
Finally, when the extension gets selected code, it opens special URL with saved options viaNSWorkspace.shared.open.
To use any installed extensions, select Editor menu in Xcode, and all extensions with commands will appear at the bottom:

Bonus: Key bindings
To be more productive, you can associate a keyboard shortcut with the extension command in Xcode > Preferences... > Key Bindings menu. I use ⌃ + ⌥ + ⌘ + R, because it doesn't conflict with default bindings.
Results
To check the final project, you can open RaySo repository and install the app. Regardless all caveats, I'm happy with the result. Now it's so easy to share my code right from Xcode! I just want to add several good articles that help me:
- Xcode Source Editor Extension Tutorial: Getting Started by Vadim Bulavin
- XcodeKit and Xcode Source Editor Extensions by Zoë Smith